The Installation Tips That Will Make or Break Your New Lawn.
The transition from harvested sod to a beautiful lawn will not be successful without planning, preparation/installation, and continued maintenance after the installation. Following these steps and tips can be the key to protecting your investment in new sod.
Planning
There are three important logistical issues that require planning: quantity, weather, and transportation.
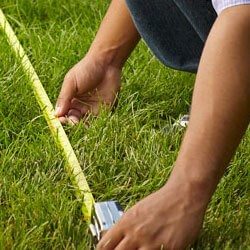
First, it is important to measure the area that you will be sodding. Most landscapers and suppliers work in units of square feet. Therefore, it best to measure the area by taking all dimensions in feet with a long tape measure.
Now it is time for the 2nd step, looking at your schedule and the weather to find the best time to prepare your ground and lay your sod. Either the weather will help your sod adapt to its new environment, or it can make it rather difficult to grow in its new home. Ideally, you want to install sod when there is cooler weather (less than 85
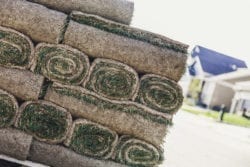
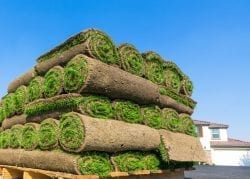
After selecting a time to prep and install, call your sod provider. They will go over options for delivery and pickup, as well as give you any advice on bringing an adequate vehicle and trailer for your desired quantity.
Preparation/Installing
Preparing the area where the sod that will installed is critical to the success of the plant. Start by clearing away any existing plant material. After that, make sure to loosen up the soil to a depth of 4 to 6 inches with a rototiller or other device. At this point, it is very beneficial to add a starter fertilizer like a 12-12-12 that we sell at Dunteman Turf Farms. Rake the fertilizer into the dirt 3 to 4 inches. Make sure the ground is level and free of bumps, large rocks, roots, and other material. Also, make sure that dirt is about 0.5” below any driveway or sidewalk.
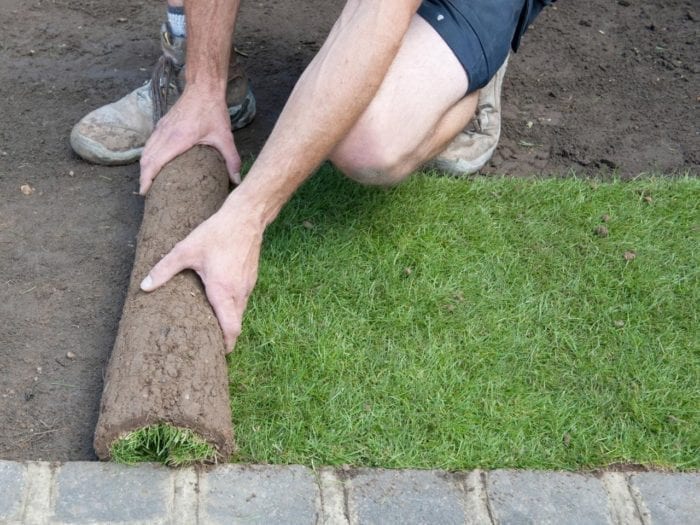 Figure 1: Dirt graded below the sidewalk
NOTE: Remember that thought about planning for weather? You must time your preparation and planting so that no rain comes between the two. If you prepare the dirt and it rains, it can compact and erode the dirt, which would require you to do all of the work again. Furthermore, try and plan so that rain comes just as you are finishing the laying of the sod. That will take a lot of the irrigation work off of your hands.
Use It Or Lose It
Now that you have prepared the ground, it is time to install your new sod. Sod only has a shelf life of about 24 hrs on a skid. It needs to be laid as soon as possible after delivery or pickup. As for the technique, Installing Sod is similar to putting in carpet and laying brick. It is like carpet in that it rolls out and needs to be flat and straight on a surface. It is like brickwork because you want to stagger the seams like a brick wall. The first thing to do after finishing the installation is to water your sod immediately. The water should penetrate into the soil six inches. Keep watering daily for about two weeks to establish roots.
- Don’t leave gaps or overlap rolls
- Lay the rolls across a hill, and not with the long side up/down a hill
- Use a utility knife to cut pieces from rolls from the bottom side to fit irregular shapes in your yard.
- There is no need to water on days with substantial rain that penetrates the soil 6″.
- Keep foot traffic to a minimum for two weeks to give the sod time to establish itself.
- Concrete and structures reflect heat back onto nearby sod. Make sure to give those areas extra water
Continued Maintenance
So after the first two weeks, you don’t have to do anything, right? We wish. Your new lawn will require constant care to keep it in great shape. Quite frankly, there are too many topics and considerations about lawn maintenance for this article. However, we will go over a few basics.
Mowing: Mowing should be done at least once per week from spring to fall increasing in frequency depending on the rate of growth. You may drop your mowing height to 2-2.5 inches during spring and fall. During the heat of summer, it is good to raise your mower height to 2.5-3 inches to allow more leaf area.
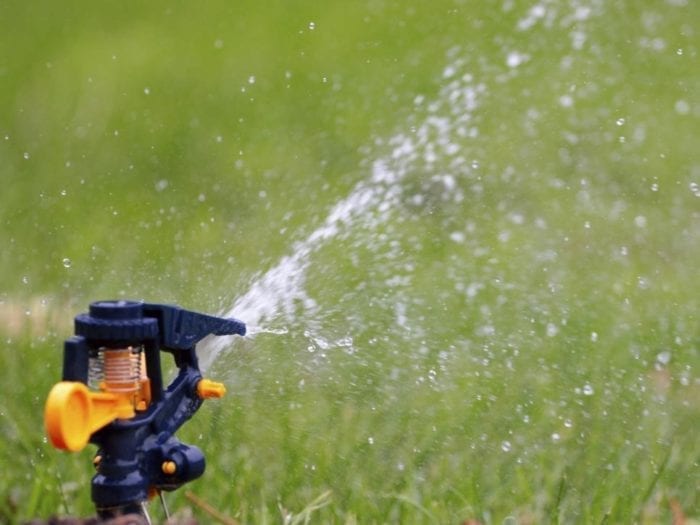
Watering: Watering is important in the Chicagoland area. We tend to have wet springs and dry summers, which creates stress on your lawn. There isn’t an exact day to start watering in the summer. Instead, you should look for visible signs of stress such as the slowing of growth, dryness, and discoloration. It is at this point that you should start to water. Two things describe an effective watering strategy: deep (6” of moisture) and infrequent (5 day intervals). Putting that concept into practice, to start you should soak your lawn once a week and allow the roots to chase the moisture down. You may have to vary this strategy slightly depending on how your lawn responds. The best time to water is early morning. You can read more about this here.
Fertilizing: Understanding fertilizing requires much more detail than what can we can discuss here. Keeping that in mind, it is very important to have a fertilizing strategy from spring through fall. Be on the lookout for more guides on fertilizing, or feel free to talk to us at Dunteman Turf Farms about your fertilizing needs.